Build AI Search for Your Documentation
This guide shows you how to set up a ready-to-use AI semantic search for your documents and files. Using the sqlite-aisearch-action, you can integrate document processing into your GitHub workflow and set up a chatbot on your site in just a few steps.
The semantic search is powered by SQLite RAG.
Step 1: Set Up Your GitHub Workflow
-
Get Your Connection String: Ensure you have a project on the SQLite Cloud dashboard. If not, sign up for SQLite AI to create one for free.
-
Set GitHub Secret: Add your connection string as
SQLITECLOUD_CONNECTION_STRINGin your repository secrets. -
Add to Workflow: Create or update your GitHub workflow:
name: AI Search Index

on:
  push:
    branches: [main]
  workflow_dispatch:

jobs:
  build-search:
    runs-on: ubuntu-latest
    steps:
      - uses: actions/checkout@v4

      - name: Build AI Search Database
        uses: sqliteai/sqlite-aisearch-action@v1
        with:
          connection_string: ${{ secrets.SQLITECLOUD_CONNECTION_STRING }}
          base_url: https://docs.yoursite.com
          database_name: aidocs_search.db
          source_files: ./path/to/documents
Step 2: Create the Search Edge Function
To enable search functionality on your indexed database, create an Edge Function using the provided template:
- Access your dashboard at https://dashboard.sqlitecloud.io
- Navigate to the same project where your database was uploaded
- Go to the Edge Functions section
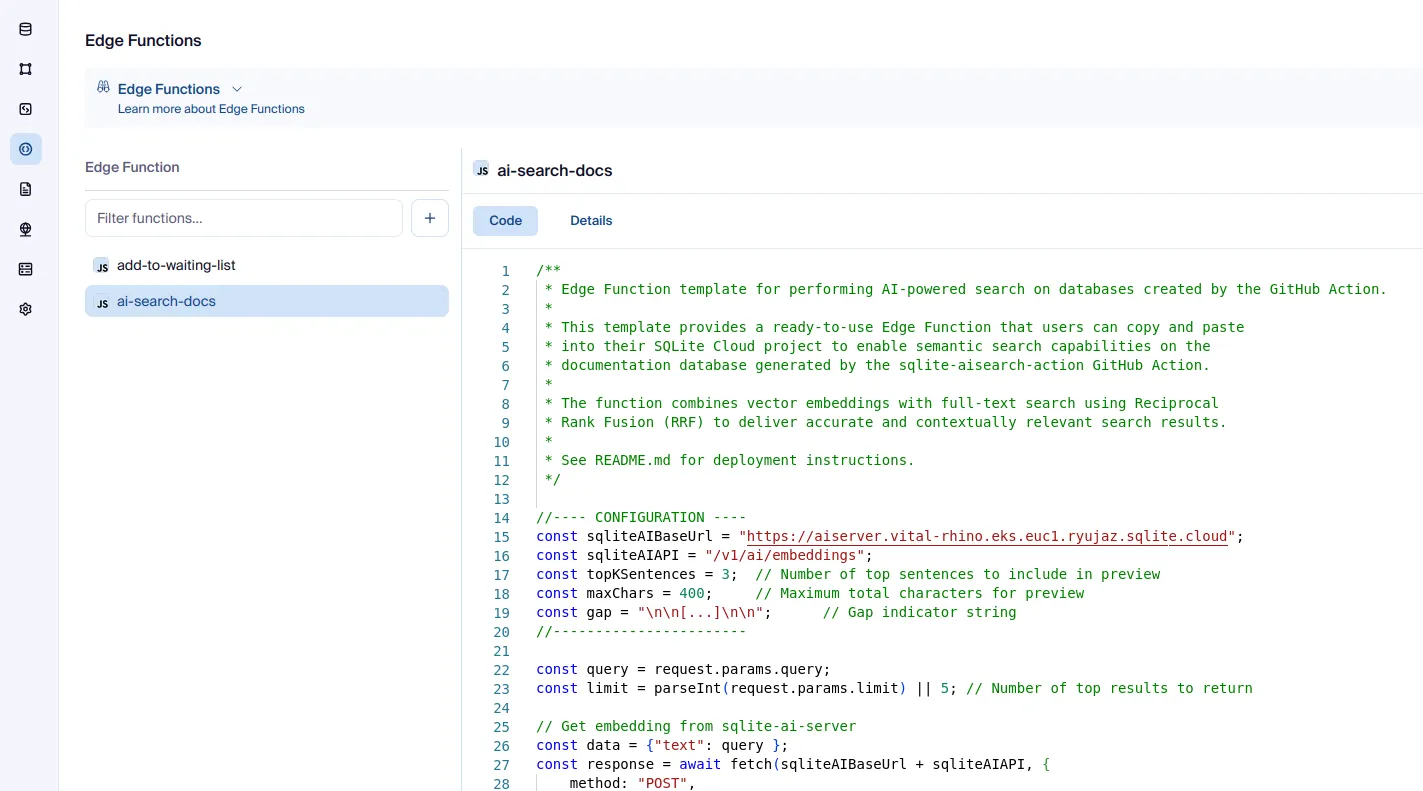
- Create a new
Javascript Functionand copy the code from aisearch-docs.js into the editor - Deploy and test
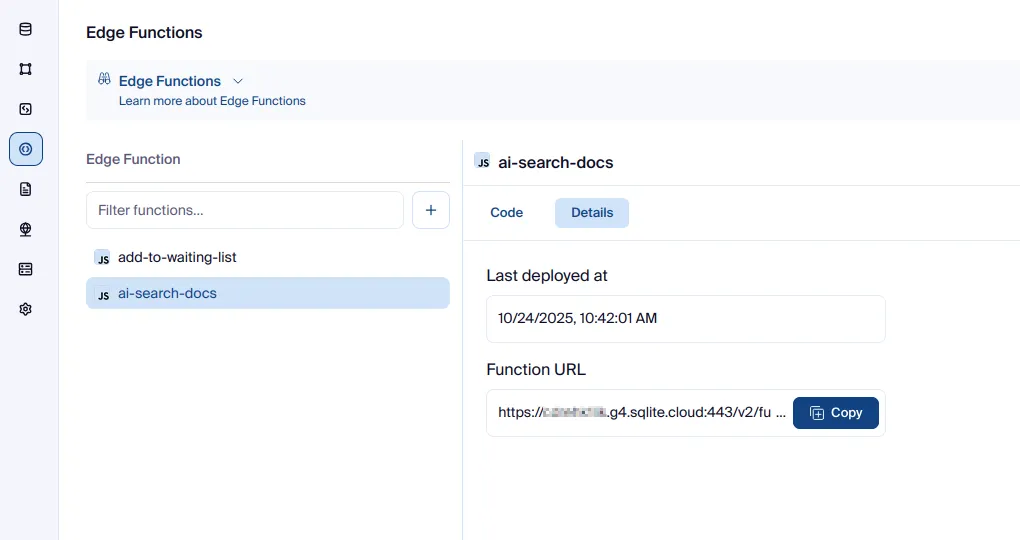
How to Perform a Search
-
Go to Details in the Edge Function panel and copy the Function URL
-
Execute a GET request with a URL-encoded query as the
queryparameterExample:
GET https://myproject.cloud/v2/functions/aisearch-docs?query=what%27s+Offsync%3F
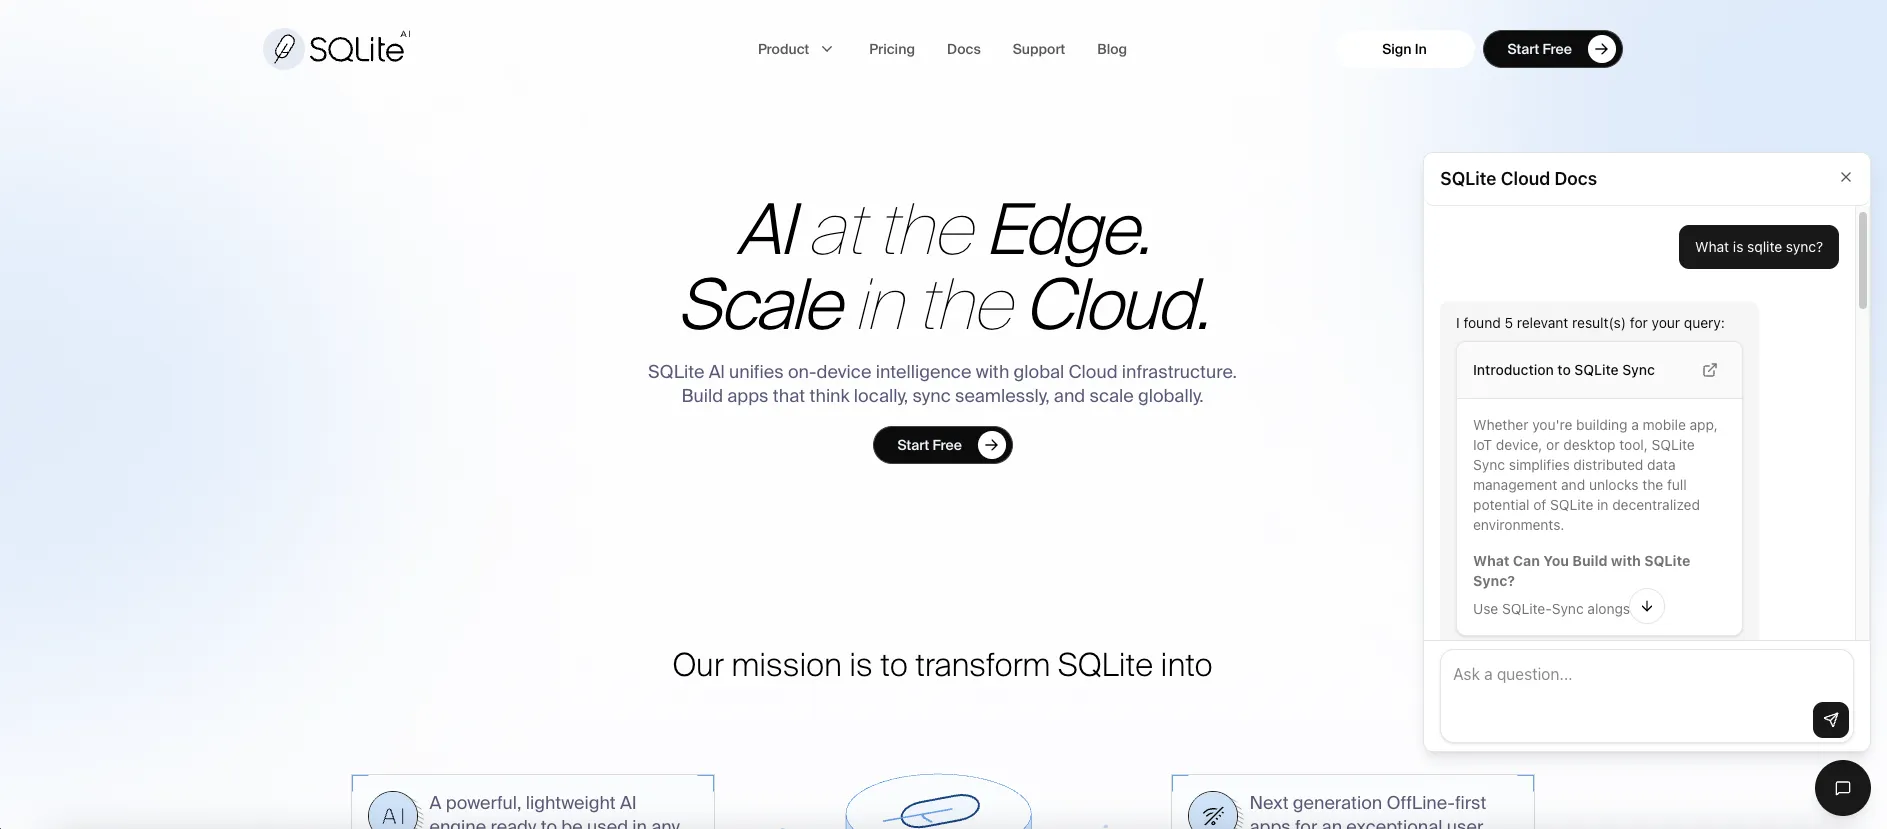
Step 3: Integrate the Docs Chatbot in Your Website
Once you have your search edge function deployed, you can easily add an interactive AI chatbot to your website. The chatbot provides a user-friendly interface for your documentation search, powered by the indexed content.
React Integration
Install the chatbot package:
npm install @sqliteai/docs-chatbotThen add it to your React application:
import { DocsChatbot } from "@sqliteai/docs-chatbot";
import "@sqliteai/docs-chatbot/style.css";

function App() {
  return (
    <DocsChatbot
      searchUrl="https://yourproject.sqlite.cloud/v2/functions/aisearch-docs"
      apiKey="your-api-key"
      title="Help Center"
    />
  );
}
- Replace the
searchUrlwith your Function URL from Step 2 - For the
apiKey, you need to use an API key with read permissions on your AI docs database. Learn how to create and manage API keys in the API Key documentation.
Vanilla JavaScript
For non-React applications, use the web component:
<!DOCTYPE html>
<html lang="en">
  <head>
    <meta charset="UTF-8" />
    <meta name="viewport" content="width=device-width, initial-scale=1.0" />
  </head>
  <body>
    <script src="https://unpkg.com/@sqliteai/docs-chatbot/dist/umd/docs-chatbot.min.js"></script>

    <docs-chatbot
      search-url="https://yourproject.sqlite.cloud/v2/functions/aisearch-docs"
      api-key="your-api-key"
      title="Help Center"
    >
    </docs-chatbot>
  </body>
</html>
By default, the chatbot displays as a floating button in the bottom-right corner. For advanced configuration options including custom triggers, theming, and API reference, see the full docs chatbot documentation.